
 Pin it
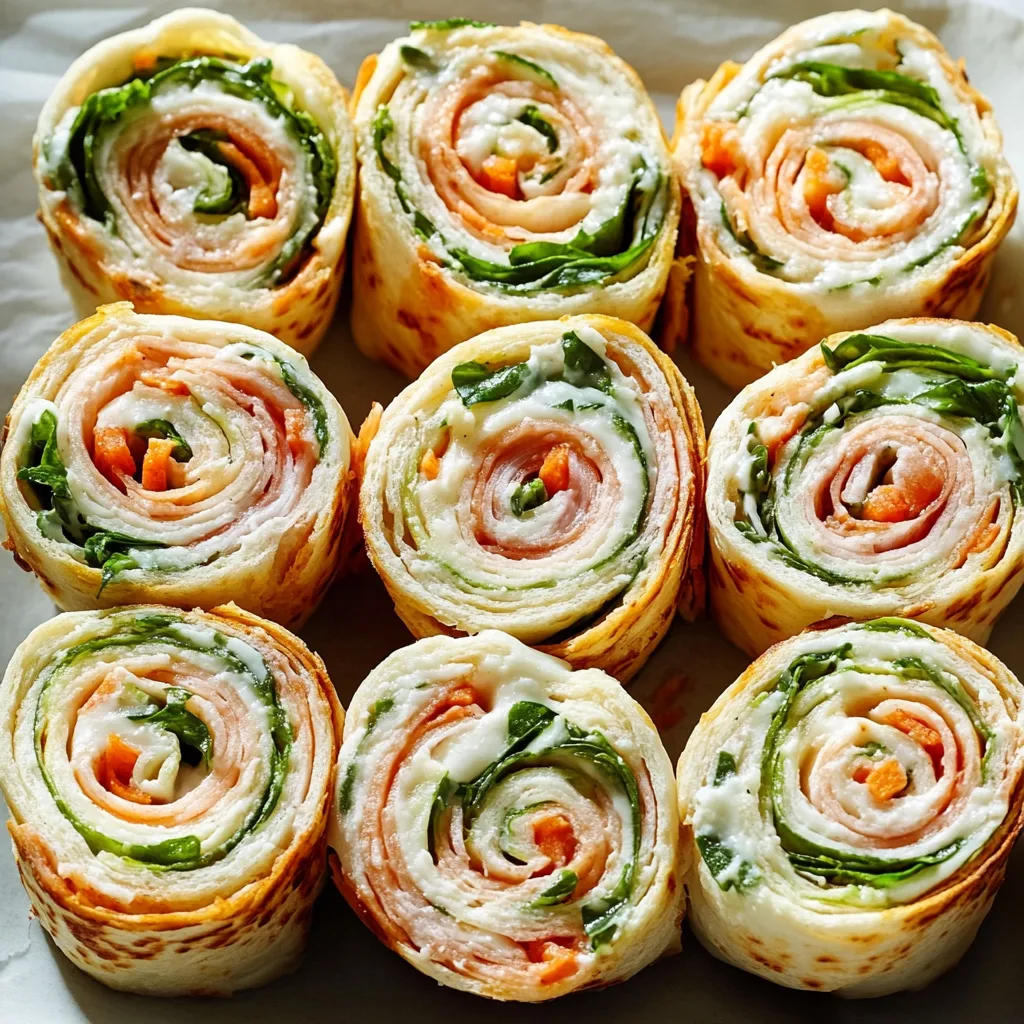
Pinwheel sandwiches transformed my approach to entertaining when I discovered them years ago. These colorful spirals of flavor aren't just sandwiches - they're bite-sized works of art that turn any gathering into something special. The best part? They're surprisingly simple to make, yet they never fail to impress guests who think you've spent hours in the kitchen.
I first served these at a family gathering, and my aunt insisted I must have ordered them from a caterer. Now they're my signature contribution to every potluck and party, and I love watching guests' faces light up when they see the platter.
Essential Ingredients Guide
- Choose fresh, pliable tortillas: Stiff or dry tortillas will crack when rolling. I prefer the uncooked variety from the refrigerated section.
- Cream cheese should be fully softened: I leave mine out for at least two hours for a smooth spread.
- Fresh vegetables need to be very finely chopped: Large pieces make rolling difficult.
- Deli meats should be thinly sliced: I ask for a #1 setting at the deli counter.
- Fresh herbs add brightness: Flat-leaf parsley or cilantro work beautifully.
Detailed Assembly Instructions
- Step 1: Preparing Your Base
- Let cream cheese reach room temperature completely.
- Mix in seasonings before spreading.
- Create an even, thin layer across entire surface.
- Step 2: Layering Process
- Start with lighter ingredients.
- Distribute fillings evenly to edges.
- Pat wet ingredients dry with paper towels.
- Step 3: Rolling Technique
- Begin from the bottom edge.
- Keep tension firm but gentle.
- Tuck filling back in if it escapes.
- Step 4: Setting the Roll
- Wrap tightly in plastic wrap.
- Twist ends to secure.
- Chill for minimum 30 minutes.
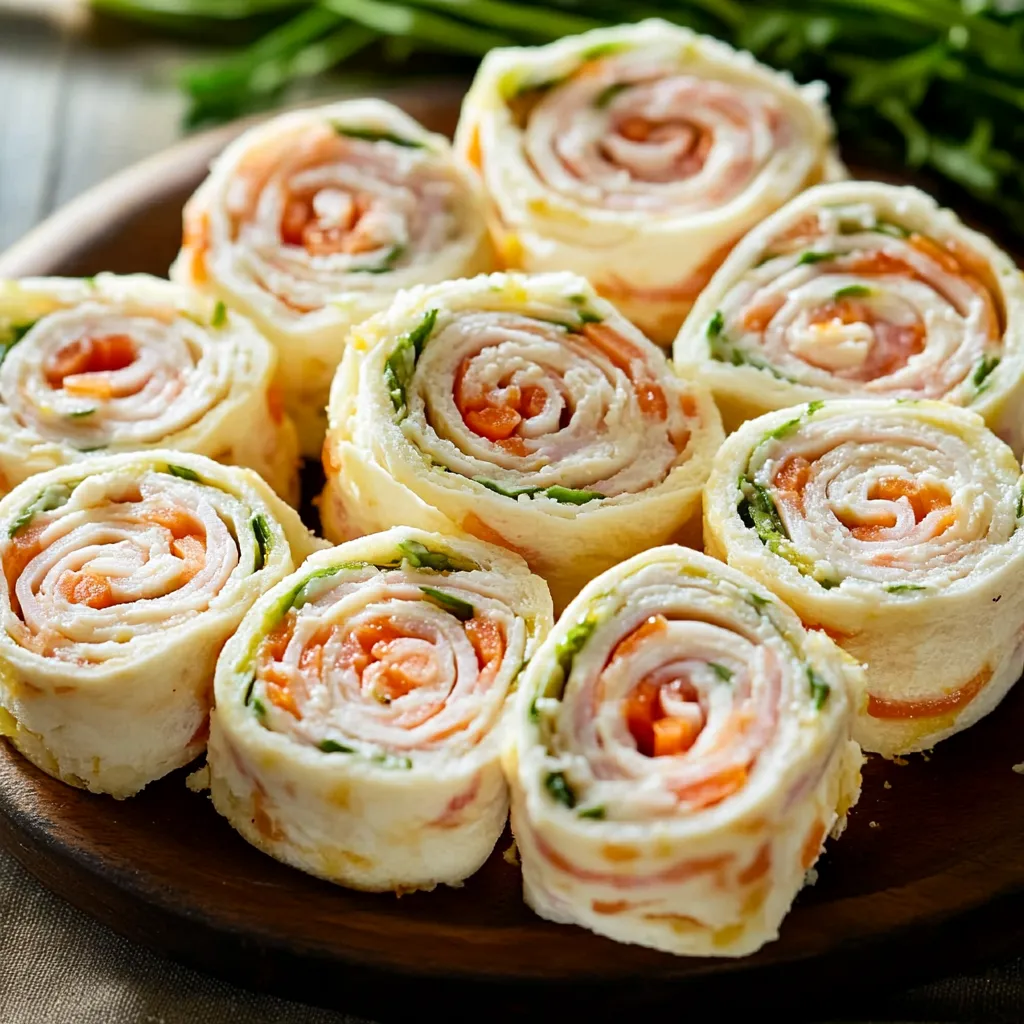
- Step 5: Slicing Method
- Use a sharp serrated knife.
- Clean blade between cuts.
- Make firm, gentle sawing motions.
 Pin it
I learned about the importance of chilling time the hard way at my first book club meeting. Eager to serve my freshly made pinwheels, I skipped the refrigeration step. What should have been elegant spirals turned into a messy (though still tasty) jumble. Now I always make them the night before an event - the flavors actually improve overnight.
Make-Ahead Magic
These pinwheels have become my go-to solution for so many occasions. When my daughter's teacher requested finger foods for the class party, I made a kid-friendly version with turkey and cheese. For my sister's bridal shower, I created an elegant assortment with smoked salmon and herbs. They're endlessly adaptable to any situation or taste preference.
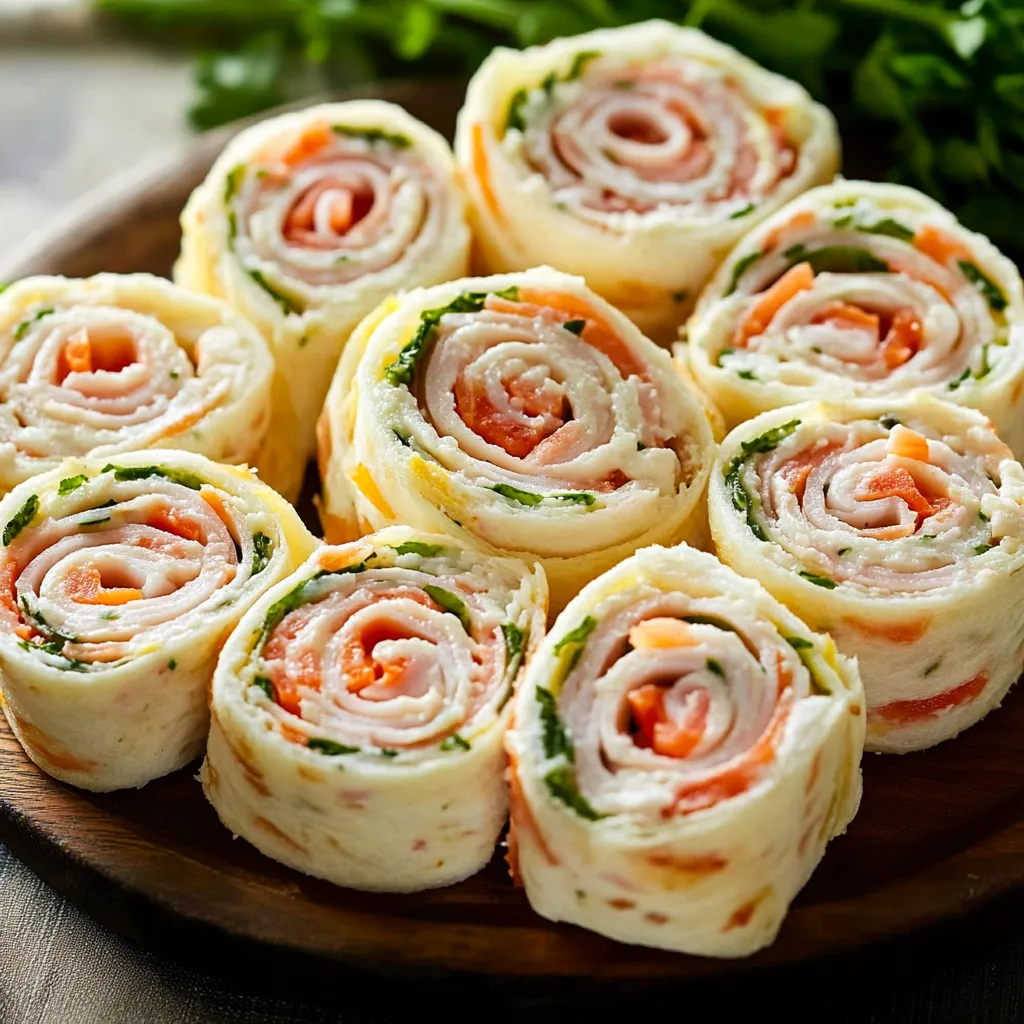
Perfect Proportions
The secret to perfect pinwheels lies in the spread-to-filling ratio. After countless batches, I've found that a thin layer of spread acts like edible glue, while too much makes them sloppy. I keep a butter knife nearby to scrape off excess spread before adding other ingredients.
Picnic Perfect
During summer picnics, I've discovered that pinwheels travel beautifully in a cooler. I pack them in airtight containers with wax paper between layers. They're perfect for beach days, outdoor concerts, or any time you need an easy-to-eat finger food that still feels special.
Crowd Pleasing
One memorable potluck, I brought Mediterranean-style pinwheels with hummus and roasted vegetables. They disappeared so quickly that several guests asked for the recipe. Now I always make extra - they're just as good the next day for lunch.
 Pin it
After years of making pinwheel sandwiches, I've found they're one of the most versatile and rewarding recipes in my repertoire. Whether you're planning a casual picnic or an elegant party, these spiraled sandwiches never disappoint. Remember, the key to success lies in taking your time with the assembly and giving them proper chill time. The results are worth every minute of preparation - beautiful, delicious pinwheels that bring a touch of fun and elegance to any occasion.
Conclusion
The real beauty of pinwheels lies not just in their appearance, but in their ability to transform simple ingredients into something special. Each roll is a blank canvas waiting for your creative touch. Start with these basic techniques, then let your imagination guide you to new flavor combinations. From simple turkey and cheese for everyday lunches to sophisticated combinations for special events, pinwheel sandwiches are truly a recipe that can do it all. Once you master these basics, you'll find yourself reaching for tortillas and cream cheese whenever you need a reliable, impressive dish that never fails to delight.
Frequently Asked Questions
- → Can I make these ahead of time?
- Yes! Make them up to 24 hours ahead. Wrap tightly in plastic and slice just before serving.
- → How do I keep tortillas from getting soggy?
- Pat wet ingredients dry with paper towels before assembling, and spread cream cheese edge to edge.
- → What's the best way to slice pinwheels?
- Chill first, then use a sharp serrated knife to make clean cuts without squishing.
- → How long do they stay fresh?
- Store in an airtight container in the fridge for up to 3 days.
- → Can I make them gluten-free?
- Yes, just use gluten-free tortillas and check that all fillings are gluten-free.