Cheesy Pocket Tacos

Featured in Appetizing Starters.

Wrap seasoned beef, gooey cheese, and flavorful toppings in fried biscuit dough for an irresistible snack or meal.
Ranah
Updated on Thu, 06 Feb 2025 13:46:43 GMT
Close-up of cheesy pocket tacos filled with ground beef, showcasing their delicious, melted cheese and savory filling. Pin it
Close-up of cheesy pocket tacos filled with ground beef, showcasing their delicious, melted cheese and savory filling. | tastyblom.com

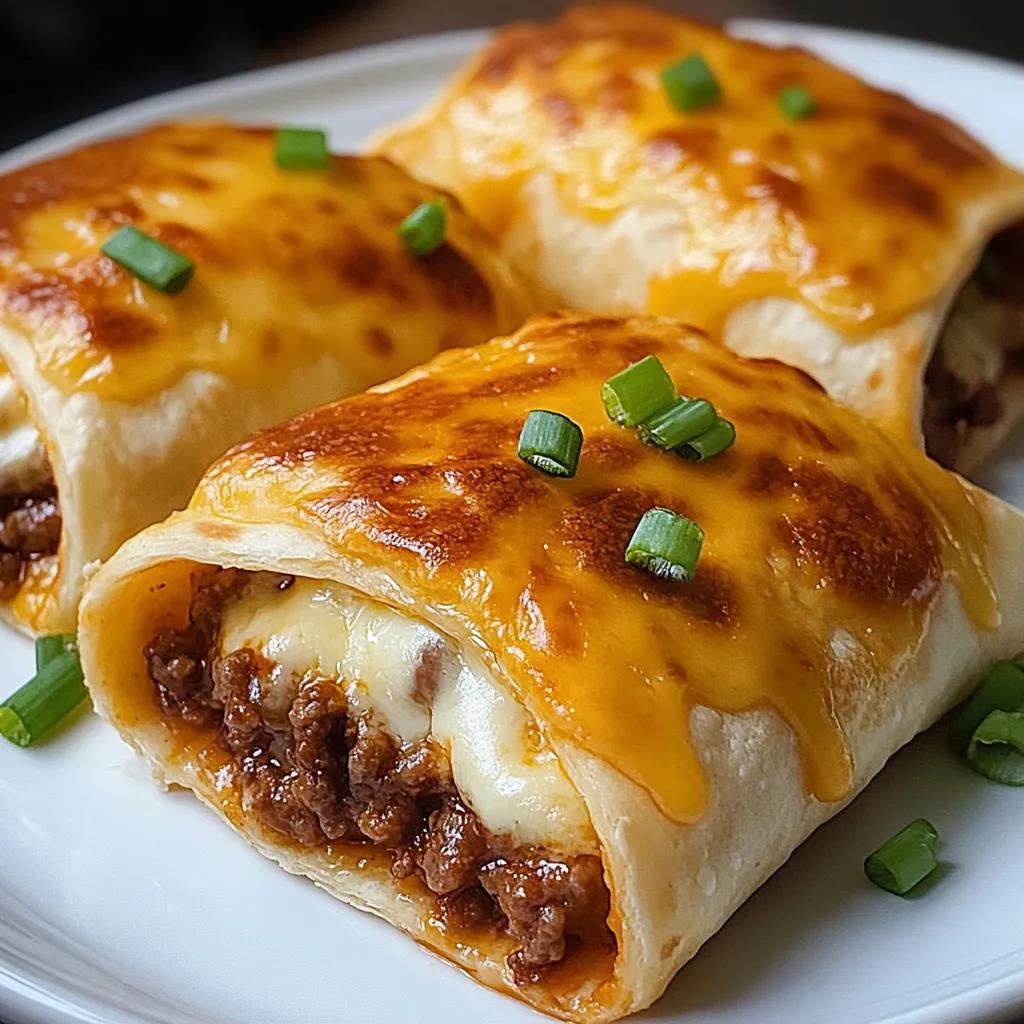
Transform your taco night with these irresistible loaded cheesy pocket tacos - a perfect fusion of crispy tortillas filled with seasoned beef, melted cheese, and creamy sauce. Each pocket is sealed and baked until golden, creating a handheld delight that combines the best of tacos and quesadillas.

Essential Ingredients Guide

  • Ground beef: 80/20 for best flavor
  • Cream cheese: at room temperature
  • Fresh tortillas: for best folding
  • Quality taco seasoning: for flavor
  • Sharp cheddar: for melting

Detailed Assembly Instructions

Step 1: Meat Preparation
  • Brown beef thoroughly
  • Drain excess fat
  • Season perfectly
Step 2: Filling Creation
  • Beat cream cheese until smooth
  • Mix with salsa
  • Combine with beef mixture
Step 3: Pocket Assembly
  • Fill tortillas carefully
  • Seal edges completely
  • Brush with butter
Step 4: Baking Process
  • Arrange on prepared pan
  • Watch for golden edges
  • Rotate if needed
Step 5: Final Touches
  • Add fresh toppings
  • Serve while hot
  • Provide dipping sauces
Close-up image of cheesy pocket tacos stuffed with ground beef, emphasizing the gooey cheese and flavorful filling. Pin it
Close-up image of cheesy pocket tacos stuffed with ground beef, emphasizing the gooey cheese and flavorful filling. | tastyblom.com

Understanding Pocket Tacos

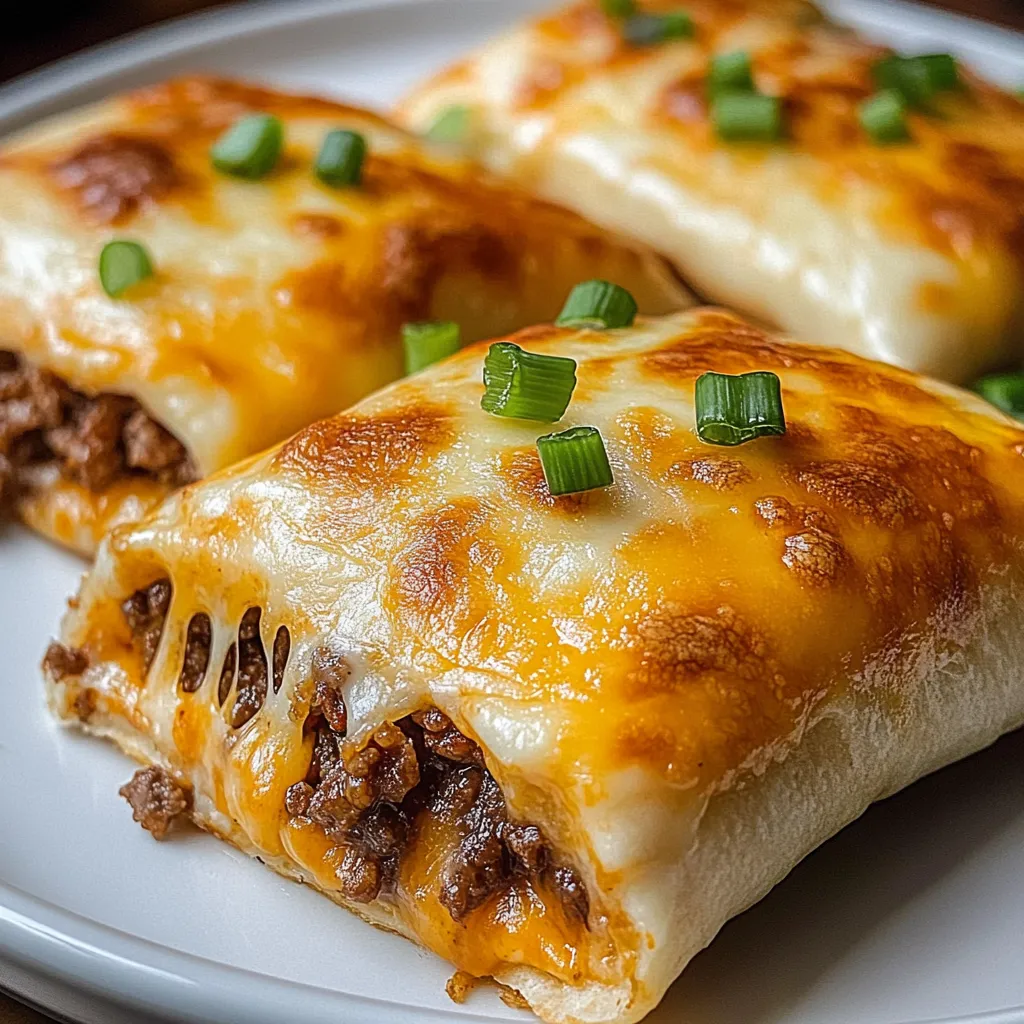
The viral trend of loaded cheesy pocket tacos has revolutionized home cooking by combining Mexican-inspired flavors with American convenience. These sealed, handheld delights transform traditional taco ingredients into a portable, mess-free meal that's perfect for busy families and entertaining.

The Science of Perfect Pocket Tacos

Creating the ideal pocket taco requires understanding the relationship between temperature and ingredients. The cream cheese mixture acts as an insulator for the hot beef filling, while also binding ingredients together. The sealed edges prevent leaks, and the final baking process melts the cheese while crisping the tortilla, creating textural contrast.

Perfect Pairings

  • Fresh guacamole
  • Mexican rice
  • Refried beans
  • Crisp salad
  • Spicy salsa

Creative Variations

  • Chicken and cheese
  • Bean and corn vegetarian
  • Breakfast style with eggs
  • Buffalo chicken
  • Pizza pocket version

Make-Ahead and Storage

  • Freeze assembled unbaked pockets
  • Store in an airtight container
  • Reheat in oven for crispiness
  • Keeps 3-4 days refrigerated
  • Label clearly if freezing

Serving Suggestions

Create a toppings bar with:

  • Fresh pico de gallo
  • Shredded lettuce
  • Mexican crema
  • Pickled jalapeños
  • Cilantro lime sauce
A detailed view of loaded cheesy pocket tacos with ground beef, highlighting the rich cheese and hearty meat inside. Pin it
A detailed view of loaded cheesy pocket tacos with ground beef, highlighting the rich cheese and hearty meat inside. | tastyblom.com

Conclusion

These loaded cheesy pocket tacos represent the perfect fusion of comfort food and convenient eating. Whether you're feeding a family, meal prepping, or hosting a party, these versatile pockets deliver satisfaction in every bite. Remember, success lies in proper sealing and careful baking. Master these techniques, and you'll have a crowd-pleasing dish that's perfect for any occasion.

Frequently Asked Questions

→ Can I use turkey instead of ground beef?
Absolutely! Ground turkey is a great lean alternative that works well with taco seasoning.
→ What if I don't want to fry them?
You can bake them at 375°F (190°C) for 12-15 minutes for a lighter version.
→ Can I freeze these pocket tacos?
Yes, you can freeze them before frying or baking. Reheat directly from frozen when ready to serve.
→ Is this recipe vegetarian?
No, it contains ground beef. Use plant-based meat alternatives for a vegetarian option.
→ How long do they stay fresh in the fridge?
They stay fresh for up to 3 days when stored properly in an airtight container.

Fried Beef and Cheese Pockets

A crispy, cheesy twist on classic tacos—stuffed with beef, cheese, and toppings.

Prep Time
15 Minutes
Cook Time
20 Minutes
Total Time
35 Minutes

Category: Tasty Snacks

Difficulty: Intermediate

Cuisine: Mexican-Inspired

Yield: 8 Servings (8 pocket tacos)

Dietary: ~

Ingredients

→ Protein Base

01 1 lb ground beef
02 1 packet taco seasoning (about 1 oz)

→ Cheese Mixture

03 1 cup shredded cheddar cheese
04 1 cup shredded mozzarella cheese

→ Topping Mix

05 1/2 cup sour cream
06 1/2 cup salsa
07 1 cup diced tomatoes
08 1/2 cup sliced black olives (optional)
09 1/2 cup finely chopped green onions

→ Dough & Frying

10 1 package refrigerated biscuit dough (8 count)
11 Vegetable oil for frying

Instructions

Step 01

In a skillet over medium heat, cook the ground beef until it's evenly browned. Drain off any excess fat for a cleaner flavor.

Step 02

Stir in the taco seasoning according to the package instructions, adding water as directed. Let the mixture simmer for about 5 minutes to allow the flavors to meld together.

Step 03

In a bowl, combine the shredded cheddar and mozzarella cheeses. This will be your gooey, melty filling.

Step 04

In another bowl, whisk together the sour cream, salsa, diced tomatoes, black olives (if using), and finely chopped green onions. This tangy mix will add a burst of freshness to your pockets.

Step 05

Heat vegetable oil in a deep skillet or fryer to 350°F (175°C). Make sure the oil is hot enough before frying to achieve that perfect golden crust.

Step 06

Open the refrigerated biscuit dough and gently flatten each piece. Place a spoonful of the seasoned beef in the center, followed by a generous spoonful of the cheese blend.

Step 07

Fold the dough over the filling to form a pocket, sealing the edges tightly by pinching them together or pressing with a fork. This ensures no delicious fillings escape during frying!

Step 08

Carefully drop the filled biscuits into the hot oil and fry until they're beautifully golden brown on both sides—about 2-3 minutes per side. Use a slotted spoon to remove them from the oil and let them drain on paper towels to absorb excess grease.

Step 09

Serve these cheesy pocket tacos warm, topped with extra sour cream, salsa, or any other taco-inspired toppings you love. Enjoy your meal!

Notes

  1. These Loaded Cheesy Pocket Tacos are not only quick and easy but also incredibly satisfying—a must-try for anyone craving something flavorful and indulgent.
  2. If you're looking for a lighter option, skip the frying step and bake the assembled pockets at 375°F (190°C) for 12-15 minutes. They'll still be delicious with a crispy exterior!
  3. To turn this snack into a full meal, pair your cheesy pocket tacos with a side of creamy guacamole or a refreshing garden salad. It's the perfect combination of comfort and freshness!

Tools You'll Need

  • Skillet
  • Deep skillet or fryer
  • Slotted spoon
  • Paper towels
  • Fork or fingers for sealing dough

Allergy Information

Please check ingredients for potential allergens and consult a health professional if in doubt.
  • Contains dairy (cheddar cheese, mozzarella cheese, sour cream).
  • Contains gluten (biscuit dough).

Nutrition Facts (Per Serving)

It is important to consider this information as approximate and not to use it as definitive health advice.
  • Calories: 450
  • Total Fat: 25 g
  • Total Carbohydrate: 30 g
  • Protein: 18 g