 Pin it
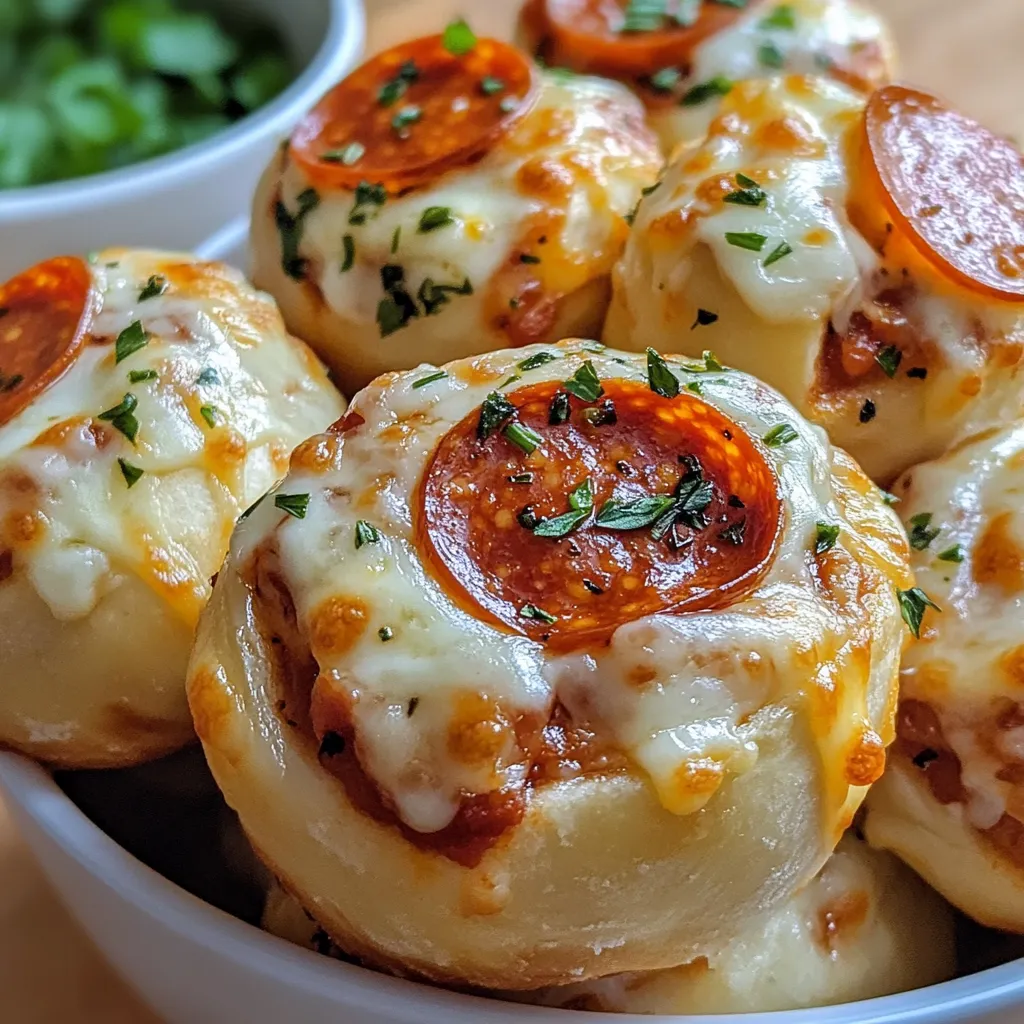
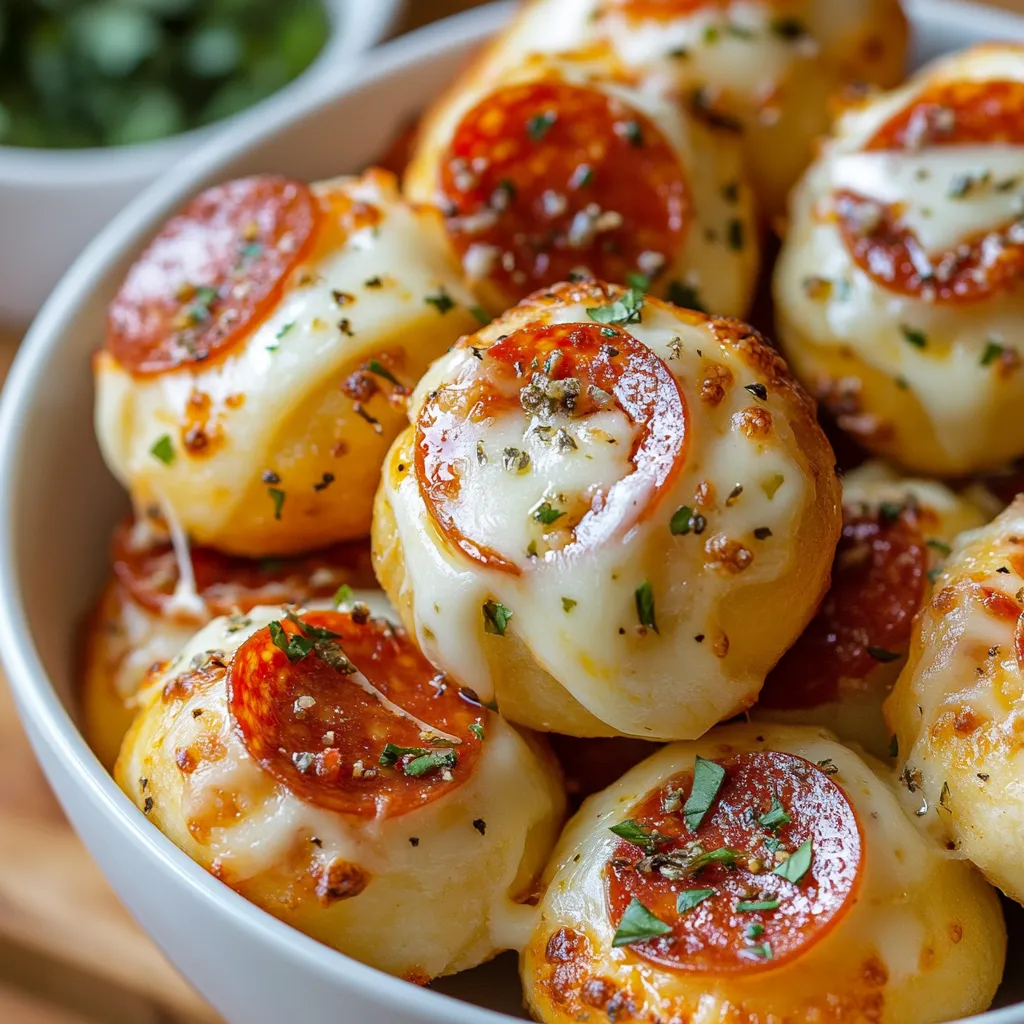
The aroma of garlic and melting cheese fills my kitchen as golden pillows of dough emerge from the oven, hiding pockets of molten goodness inside. After years of searching for the perfect shareable appetizer, these pizza bombs have become my signature crowd-pleaser. What makes them special isn't just their incredible flavor, but the moment of joy that comes when someone takes that first bite and discovers the stretchy cheese center. The contrast between the buttery, garlic-brushed exterior and the savory filling creates an irresistible combination that disappears from platters within minutes of serving.
I first made these pizza bombs for a neighborhood potluck when I needed something quick that would please picky eaters. They disappeared within minutes, and I've been perfecting the recipe ever since. My teenagers now request them regularly for movie nights, and they've become our most requested contribution to gatherings.
Essential Elements
- Refrigerated Biscuit Dough: Creates the perfect pillowy exterior
- Fresh Mozzarella: Offers superior meltability for that signature cheese pull
- Quality Marinara: Provides the authentic pizza flavor foundation
- Pepperoni: Adds classic savory spice and umami depth
- Garlic Butter Topping: Elevates the bombs with aromatic richness
- Fresh Parmesan: Creates a savory, crispy exterior
Creating Pizza Bomb Magic
- Prepare Your Workspace:
- Preheat oven to 375°F for optimal rising and browning. Line baking sheet with parchment paper for easy cleanup. Gather all ingredients before starting for efficient assembly. Have extra flour nearby for dusting if dough becomes sticky.
- Create the Perfect Packages:
- Separate each biscuit and slice horizontally for thinner dough. Flatten gently with fingers, creating a 3-inch circle. Place small amounts of filling in the center. Carefully seal edges by pinching firmly together.
- Enhance with Flavor:
- Combine melted butter with minced garlic and herbs. Brush generously over sealed dough packages. Sprinkle with freshly grated Parmesan. Consider a light dusting of Italian seasoning.
- Master the Baking Process:
- Arrange with space between each bomb. Bake until golden brown and slightly expanded. Watch for slight leakage which indicates doneness. Allow to cool briefly before serving.
 Pin it
Kitchen Equipment Essentials
Creating perfect pizza bombs requires minimal equipment, making this recipe accessible even for novice cooks.
- Baking Sheet: A large rimmed sheet prevents any cheese leakage from creating oven messes
- Parchment Paper: Essential for preventing sticking and enabling easy cleanup
- Small Bowls: Organize toppings and create assembly line efficiency
- Pastry Brush: For applying garlic butter evenly across the tops
A sharp knife makes slicing the biscuits horizontally much easier than tearing them. I've found that a small cookie scoop (about 1 tablespoon size) creates perfectly portioned filling amounts that won't overflow during baking. While not essential, a kitchen thermometer can help ensure the interior is fully cooked, especially important when making larger batches with varying sizes.
Make It Your Own
The beauty of pizza bombs lies in their versatility – they're essentially blank canvases for your culinary creativity.
Traditional pizza lovers might enjoy:
- Classic pepperoni and mozzarella
- Italian sausage with bell peppers
- Mushroom and olive for vegetarians
For those seeking more adventurous flavors:
- Buffalo chicken with blue cheese
- Spinach and feta with a touch of nutmeg
- Breakfast bombs with scrambled egg and bacon
My family particularly enjoys a 'supreme' version with tiny diced pepperoni, bell peppers, and onions all mixed together. For entertaining, consider creating a variety of flavors and marking them with different herbs on top to help guests identify their preferences. The possibilities are truly endless – just remember to keep fillings relatively dry and pre-cook any raw meat or vegetables to ensure everything finishes cooking properly.
Storage Solutions
Store cooled pizza bombs in an airtight container in the refrigerator for up to three days. Avoid microwave reheating, which makes the dough tough. Instead, warm them in a 350°F oven for 5-7 minutes until heated through. For freezing, arrange cooled bombs on a baking sheet until solid, then transfer to freezer bags where they'll keep for up to two months. Reheat from frozen by adding 5-7 minutes to the original baking time. Line storage containers with paper towels to absorb excess moisture and maintain the perfect texture.
Perfect Pairings
These versatile bombs complement many occasions, from weeknight dinners to special gatherings. Serve alongside a crisp garden salad with Italian vinaigrette to balance their richness. During cooler months, pair with tomato soup, using the bombs as delicious dippers. For entertaining, arrange on a platter with various sauces – try pesto, ranch, or garlic aioli beyond traditional marinara. They make excellent appetizers before pasta dinners or alongside antipasto platters for Italian-themed gatherings. For game day spreads, place them among finger foods like wings and vegetable platters.
Troubleshooting Tips
If bombs leak during baking, you likely overfilled them or didn't seal edges completely. For dough that won't seal, wet your fingertips with water to help edges stick. If bottoms brown too quickly, move the baking sheet to a higher rack and loosely cover with foil. For unmelted cheese, you've used pieces that were too large – cube smaller next time. When bombs seem done outside but doughy inside, lower your oven temperature by 25 degrees and extend baking time by 5 minutes. This allows the interior to cook without burning the exterior.
 Pin it
Conclusion
Pizza bombs represent the perfect intersection of simplicity and satisfaction in home cooking. They transform basic ingredients into something that feels special enough for guests yet easy enough for everyday cooking. The smile-inducing moment when someone discovers the melty cheese center creates a shared experience that elevates these little packages beyond mere appetizers. Whether you're feeding picky children, entertaining guests, or simply looking for a fun cooking project with delicious results, these versatile bombs deliver satisfaction in every bite. The next time you need a crowd-pleasing dish that comes together quickly while delivering maximum flavor impact, remember that these golden packages of joy are just a few simple steps away.
Frequently Asked Questions
- → Can I make these pizza bombs ahead of time?
- You can prepare them a few hours ahead and refrigerate before baking. Add 2-3 extra minutes to the baking time if cooking from cold.
- → What can I use instead of pepperoni for a vegetarian version?
- Try diced bell peppers, olives, mushrooms, or spinach. Just make sure to drain any watery vegetables well before adding.
- → Why is my cheese leaking out during baking?
- Make sure to seal the dough completely without any holes or thin spots. You can also try using slightly smaller cheese cubes.
- → Can I freeze these pizza bombs?
- Yes! Freeze them unbaked on a baking sheet, then transfer to a freezer bag. Bake from frozen, adding 5-7 minutes to the cooking time.
- → What's the best way to reheat leftover pizza bombs?
- Warm them in a 350°F oven for 5-7 minutes. Avoid microwave reheating as it can make the dough soggy.
