
 Pin it
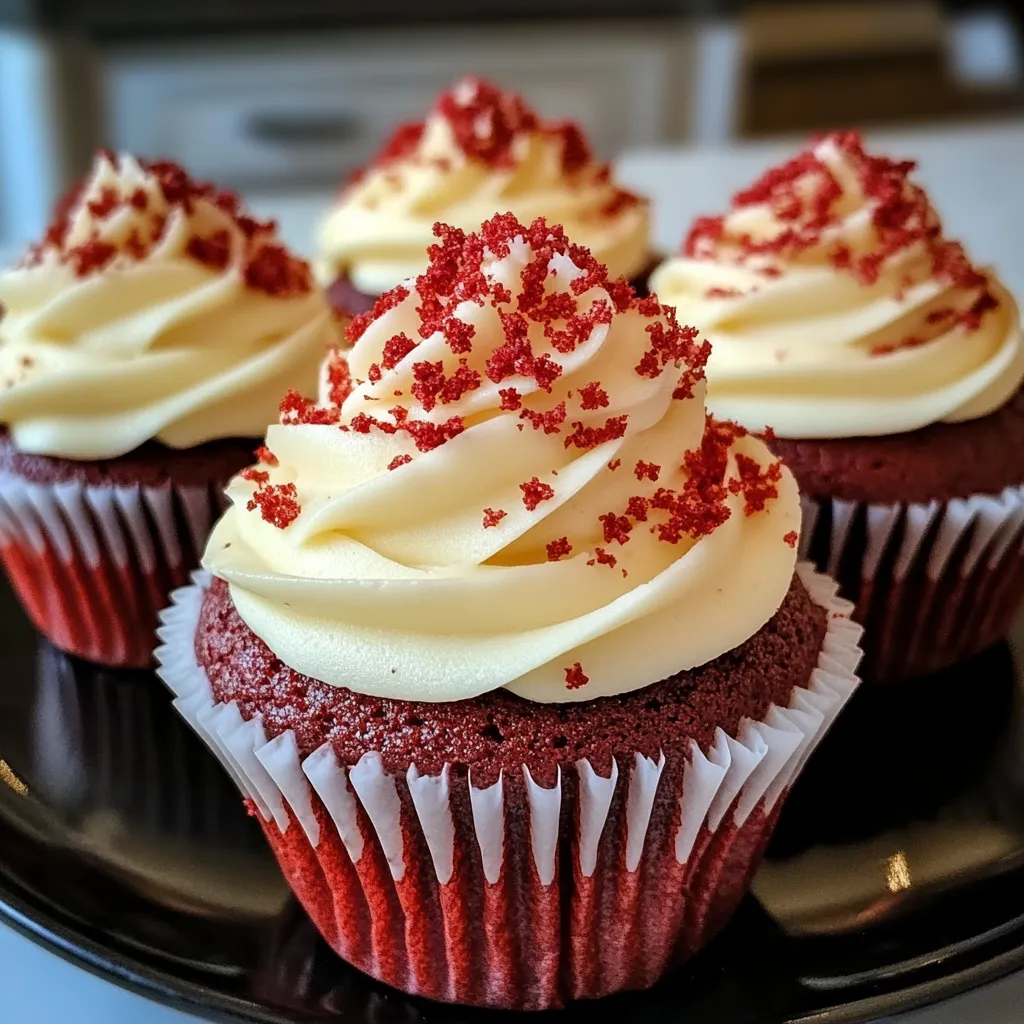
Red velvet cupcakes take on a delightfully decadent twist with a surprise cheesecake center in this Southern-inspired recipe. These cupcakes merge two beloved desserts - classic red velvet and creamy cheesecake - creating a perfect harmony of flavors and textures. Each bite reveals layers of velvety cake surrounding a rich cheesecake filling, all crowned with silky cream cheese frosting.
I first discovered this combination at a local bakery and knew I had to recreate it at home. After several attempts at perfecting the recipe, I finally achieved the ideal balance between the cake's tenderness and the creamy filling. My family now requests these for every special occasion!
Essential Ingredients Guide
- Room temperature cream cheese: is crucial for both filling and frosting - I always set mine out at least 2 hours before baking. Cold cream cheese will leave lumps, no matter how long you beat it.
- Fresh buttermilk: gives these cupcakes their signature tender crumb - the natural acidity works magic with the baking soda.
- Quality cocoa powder: adds that subtle chocolate note that defines true red velvet - I use Dutch-processed for its smoother flavor.
- Pure vanilla extract: enhances all the flavors - avoid imitation vanilla, as it can leave an artificial aftertaste.
- The right red food coloring: is key - gel colors provide vibrant hue without affecting the batter's consistency.
Detailed Baking Instructions
- 1. Creating the Perfect Cheesecake Filling
- - Beat cream cheese until absolutely smooth before adding sugar
- Scrape down bowl sides frequently to catch any hidden lumps
- Mix on medium speed until filling looks silky and smooth - 2. Mastering the Red Velvet Batter
- - Sift dry ingredients twice to ensure no cocoa powder lumps remain
- Combine wet ingredients gradually to maintain the batter's stability
- Mix just until ingredients are incorporated - overmixing leads to tough cupcakes - 3. The Layering Process
- - Start with a thin base layer of red velvet batter
- Add cheesecake filling carefully in the center, avoiding the sides
- Cover with remaining batter, leaving space for rising - 4. Baking Technique
- - Position rack in center of oven for even heat distribution
- Rotate pan halfway through baking for uniform results
- Watch for slight cracking on top - a sign they're almost done - 5. Cooling and Frosting
- - Cool in pan for exactly 5 minutes - any longer and they might get soggy
- Transfer to cooling rack immediately after
- Wait until completely cool before frosting to prevent melting
 Pin it
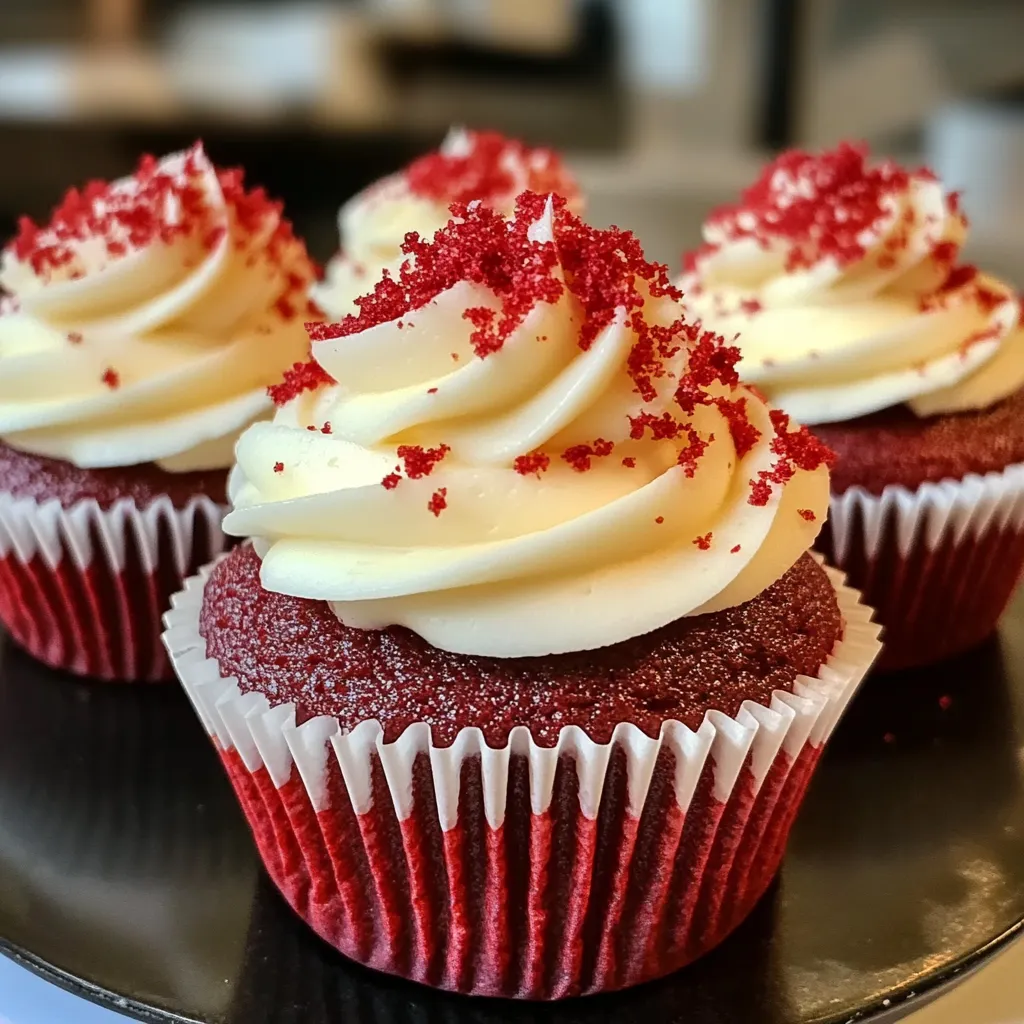
Living in the South taught me that red velvet isn't just about the color - it's about achieving that perfect balance of flavors. My grandmother always said the secret was in the buttermilk, and after years of baking these cupcakes, I couldn't agree more. I've noticed that organic buttermilk gives them an extra-special tanginess that my family absolutely loves.
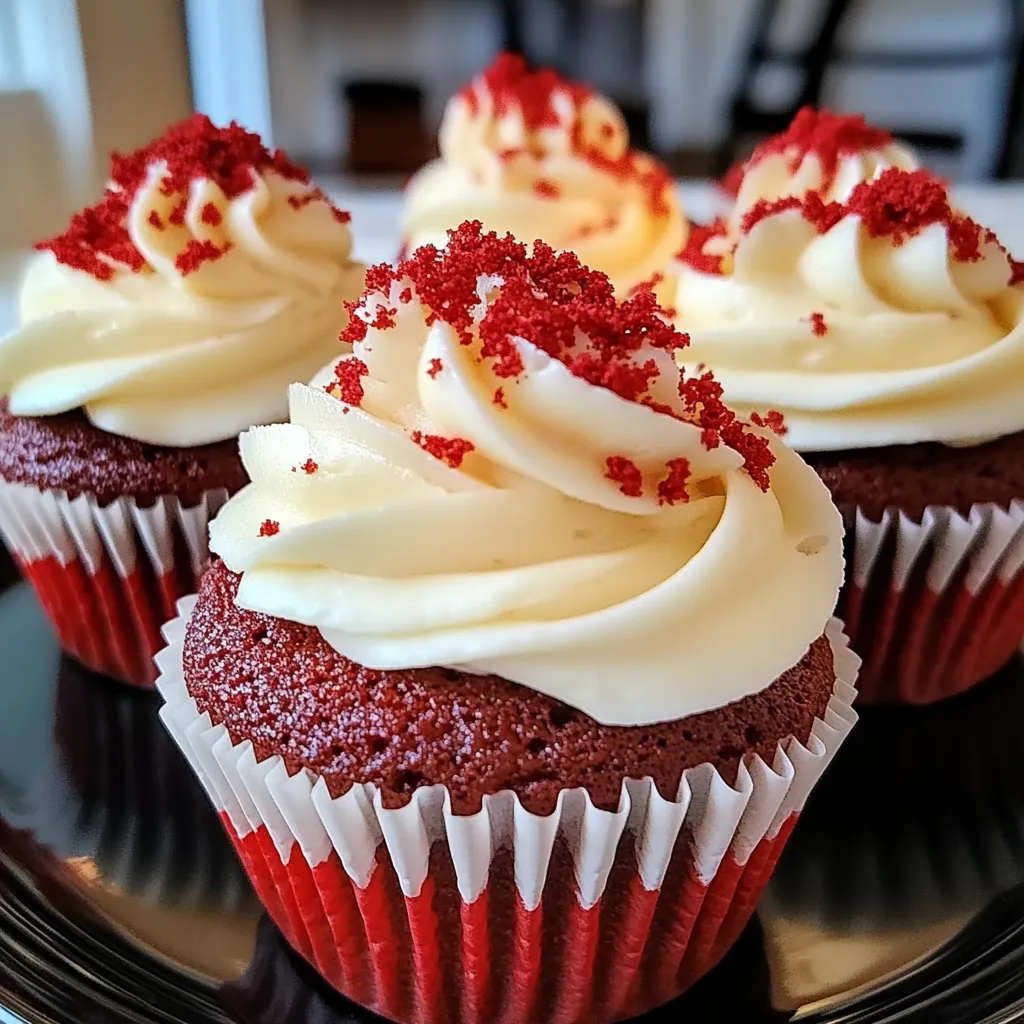
These cupcakes have become my signature contribution to our neighborhood potlucks. There's something magical about watching people's faces light up when they discover the cheesecake center. One of my favorite memories is when my daughter's teacher requested the recipe after trying them at a school bake sale - now they're a regular feature at staff meetings!
I've found that making these cupcakes is also a wonderful activity to share with children. My kids love helping with the layering process, though I've learned to keep extra paper towels handy for the inevitable red food coloring incidents! The joy on their faces when they create that perfect swirl of frosting makes any mess worthwhile.
The versatility of these cupcakes never ceases to amaze me. I've made them for casual Sunday dinners and elegant wedding showers alike. During the holidays, I sometimes add peppermint extract to the frosting and sprinkle crushed candy canes on top - it's become our family's Christmas tradition.
These cupcakes have taught me that patience in baking yields the best results. I remember my first attempt when I rushed the process and ended up with a crumbly mess. Now, I take my time, ensuring each step is done properly, and the results are consistently perfect.
 Pin it
After years of making these red velvet cheesecake cupcakes, I can confidently say they're more than just a dessert - they're a celebration in every bite. Whether you're an experienced baker or just starting out, this recipe offers the perfect blend of classic Southern charm and modern creativity. Remember, the key to success lies in taking your time, using quality ingredients, and most importantly, enjoying the process. These cupcakes aren't just about following a recipe; they're about creating moments of joy that bring people together around the dessert table.
Frequently Asked Questions
- → Can I use regular milk instead of buttermilk?
- Yes! Mix 1 tablespoon of lemon juice or white vinegar with 1 cup of milk and let it sit for 5-10 minutes until slightly thickened.
- → How long do these cupcakes stay fresh?
- Store in an airtight container in the fridge for up to 4 days. Unfrosted cupcakes can be frozen for up to 3 months.
- → What type of food coloring works best?
- You can use liquid, gel, or natural food coloring - just adjust the amount to get your desired shade of red.
- → Can I make these ahead of time?
- Yes! Bake the cupcakes a day ahead and store unfrosted in an airtight container. Frost them just before serving.
- → What can I use instead of sprinkles?
- Try chocolate shavings, crushed nuts, or fresh berries as alternative toppings that pair well with the cream cheese frosting.