 Pin it
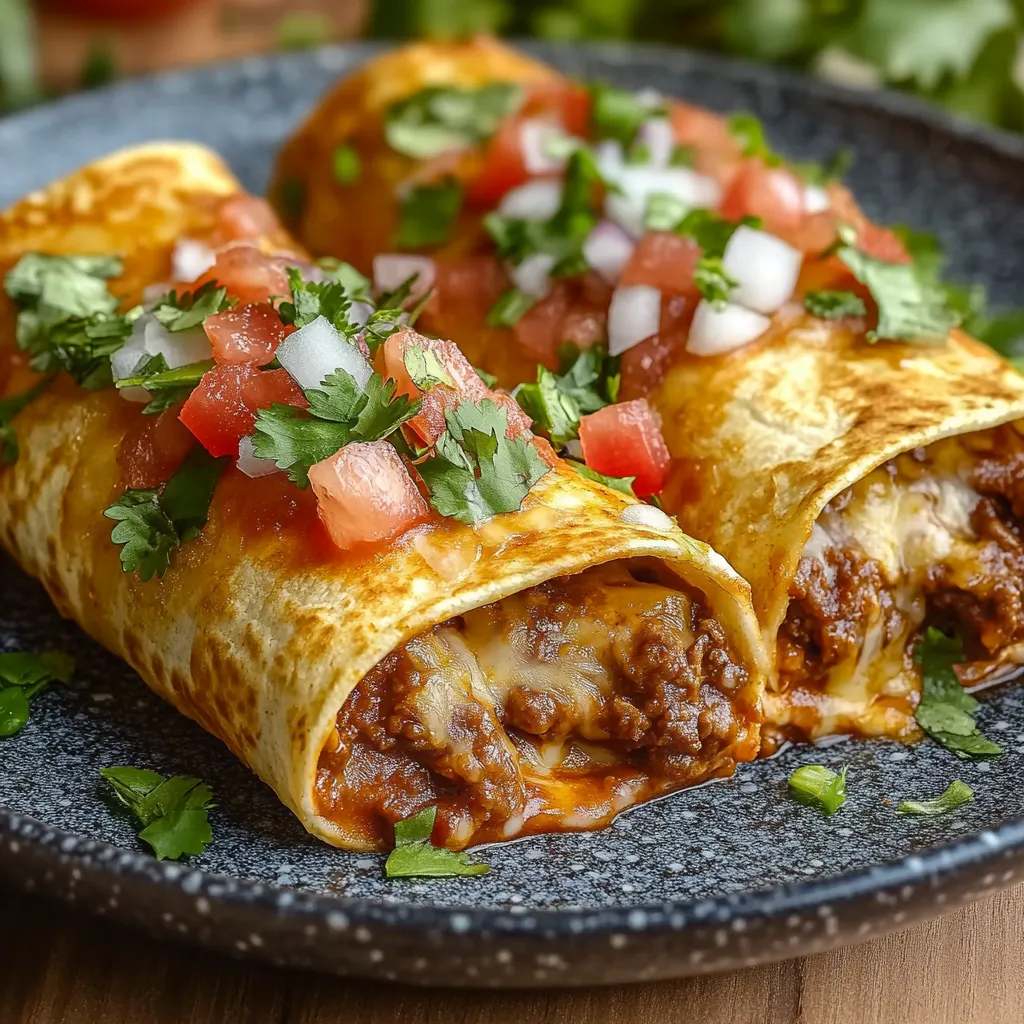
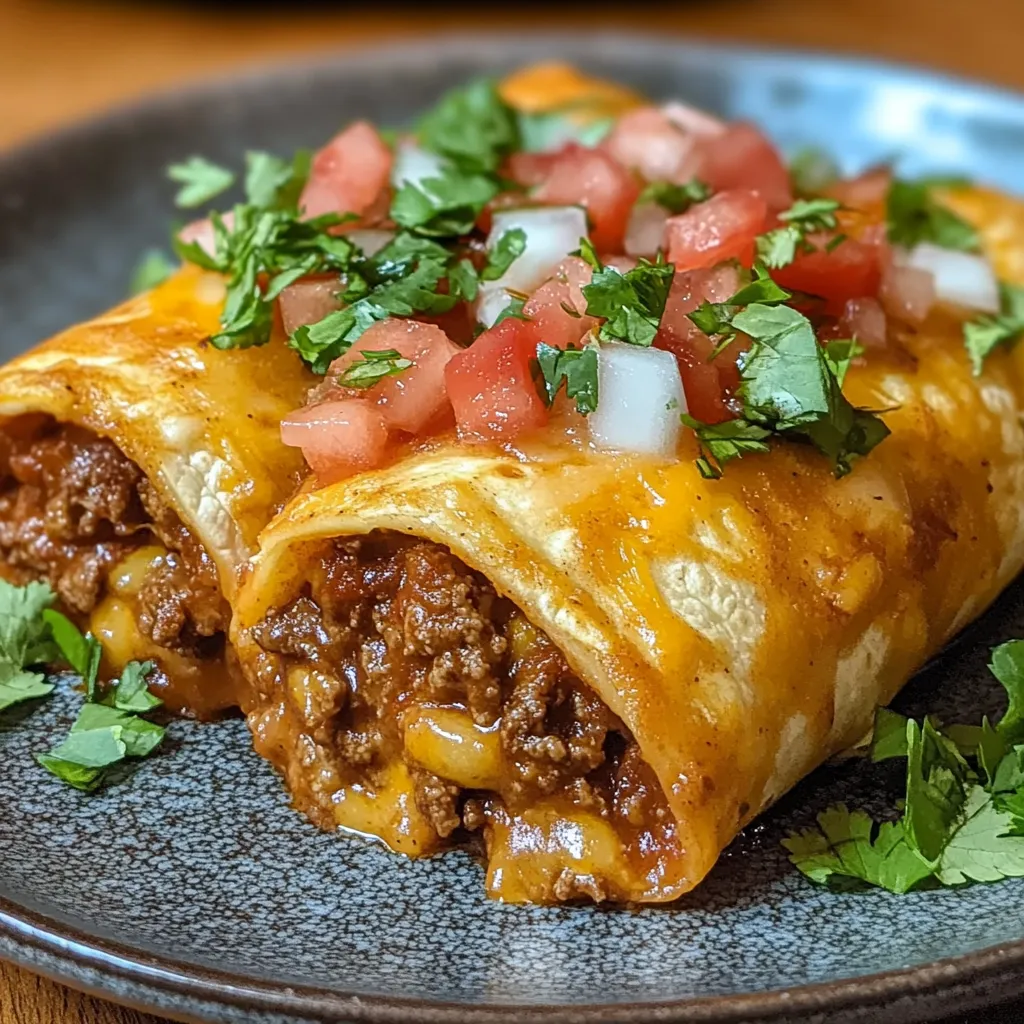
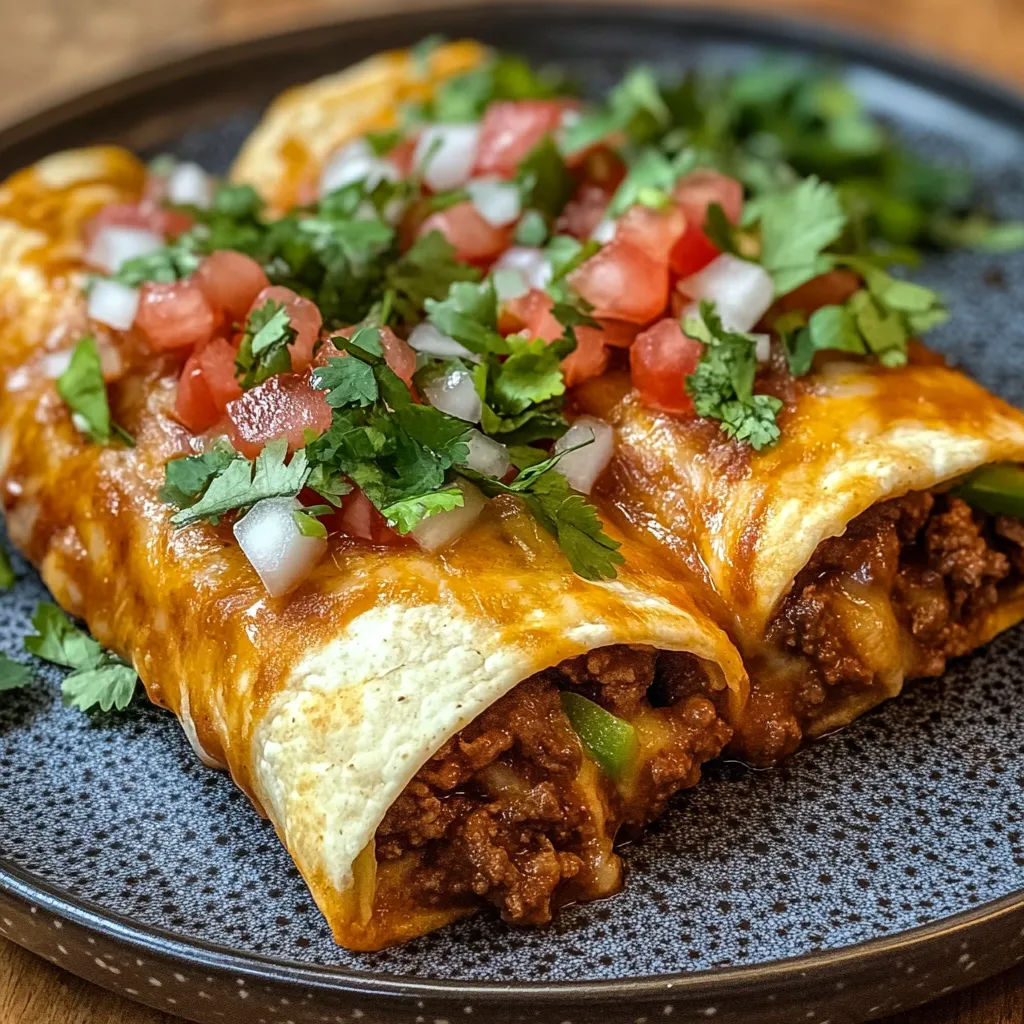
Beef and cheese chimichangas transform everyday ingredients into something extraordinary – seasoned ground beef, creamy beans, and melty cheese all wrapped in a flour tortilla and fried until perfectly golden and crisp. After living in Texas for years, I discovered these weren't just restaurant food but something I could master at home. These Tex-Mex favorites bring authentic southwestern flavors to your table in under 30 minutes, perfect for busy weeknights or weekend gatherings when you're craving something special.
My first attempt at homemade chimichangas was a soggy, oil-soaked disaster. The filling spilled everywhere, and they refused to brown evenly. After several tries and some advice from my neighbor (whose mother was from El Paso), I discovered the critical importance of tight rolling and placing them seam-side down in the oil. Now they're a monthly tradition in our house, and my husband actually prefers them to our local Mexican restaurant.
Ingredients
- Flour tortillas: Look for large burrito-sized (10-12 inch) varieties that feel fresh and pliable; tortillas that feel stiff or dry will crack during rolling
- Ground beef: An 80/20 lean-to-fat ratio gives the perfect balance of flavor and juiciness; leaner beef tends to dry out, while fattier cuts can make the filling greasy
- Refried beans: These act as both flavor and glue, helping seal your chimichanga; I prefer pinto for their creamy texture, but black beans work beautifully too
- Shredded cheese: Freshly grated cheese melts infinitely better than pre-shredded varieties; a mixture of cheddar and Monterey Jack provides the perfect melt and flavor
- Chili powder: The foundation of any good Tex-Mex dish; I toast mine in a dry pan for 30 seconds before adding to enhance the flavor
- Cumin: Provides that distinctive earthy aroma that defines authentic southwestern cooking; buy whole seeds and grind them yourself for the freshest flavor
- Oregano: Mexican oregano has a completely different flavor profile than Italian; it's worth seeking out for its citrusy, almost wild notes
- Vegetable oil: Choose a neutral oil with a high smoke point; peanut oil is my personal favorite for its clean flavor and excellent frying properties
Instructions
- Brown the ground beef thoroughly:
- Start with a hot skillet to get proper browning rather than steaming. Break the meat into small crumbles as it cooks, stirring occasionally until every bit has lost its pink color. This caramelization creates depth of flavor that makes all the difference. Drain in a colander to remove excess fat that would make your chimichangas soggy.
- Season the meat perfectly:
- Return your drained beef to the skillet over medium heat. Add all seasonings plus water, stirring to distribute evenly. The water helps bloom the spices and creates a slightly saucy texture that coats every bit of meat. Let it simmer gently until the liquid reduces completely, concentrating those flavors. Taste and adjust salt levels before removing from heat.
- Prepare your frying oil:
- Pour vegetable oil into a separate heavy-bottomed skillet to a depth of about 1/2 inch. Heat to approximately 375°F, which takes about 5-7 minutes over medium heat. If you don't have a thermometer, test by dropping a small piece of tortilla in – it should bubble vigorously but not darken too quickly.
- Warm your tortillas properly:
- Briefly pass each tortilla over an open flame or heat in a dry skillet for 10-15 seconds per side. This makes them pliable and less likely to crack during rolling. Keep them covered with a towel to retain heat while you work.
- Assemble with precision:
- Lay a warmed tortilla flat and spread about a tablespoon of refried beans in a line near one edge, leaving about an inch border. Add 2-3 tablespoons of seasoned meat on top of the beans, then sprinkle with a generous amount of cheese. Resist the urge to overfill – a common mistake that leads to bursting during frying.
- Master the rolling technique:
- Fold the edge nearest to the filling over the mixture, tucking it under slightly to create a tight cylinder. Fold both sides inward like an envelope, then continue rolling away from yourself until you have a secure package. The tighter the roll, the better the seal and the less likely filling will escape during frying.
- Fry strategically:
- Using tongs, carefully place each chimichanga seam-side down first in the hot oil. This seals the edge permanently. Fry for 1-2 minutes until deeply golden, then gently roll to cook each side evenly. Use the tongs to hold chimichangas in position to brown the ends as well, ensuring complete crispness all around.
- Drain thoroughly:
- Transfer to a paper towel-lined baking sheet, positioning them so they don't touch. Blot the tops with additional paper towels. Let them rest for 2-3 minutes before serving to allow the interior to set slightly and the exterior to reach maximum crispness.
 Pin it
My family has a standing tradition of "Chimichanga Fridays" during the summer months when my sister and her kids visit. The adults prefer them topped with homemade salsa verde and a drizzle of Mexican crema, while the kids create mountains of lettuce, tomato and sour cream on top of theirs. I've watched my brother-in-law eat four in one sitting – they're that addictive!
Variations to Try
Over years of chimichanga experimentation, I've discovered countless delicious filling combinations. Shredded chicken simmered in salsa verde creates a bright, tangy version that pairs beautifully with pepper jack cheese. For unexpected depth, try adding a tablespoon of adobo sauce from canned chipotles to your beef filling.
For vegetarian guests, I sauté finely diced bell peppers, onions, corn, and zucchini until caramelized, then mix with black beans and a sprinkle of smoked paprika. Even dedicated meat-eaters request this version when they visit. The key with vegetable fillings is cooking out excess moisture before assembling.
My weekend special involves using leftover slow-cooked pork shoulder or brisket, shredded and mixed with a splash of barbecue sauce. The smoke from the meat combined with the crispy tortilla creates an unforgettable flavor fusion that bridges Tex-Mex and southern barbecue traditions.
Serving Suggestions
Traditional chimichanga plates typically feature Spanish rice and refried beans alongside the main attraction. For a fresher approach, try serving with cilantro-lime rice and a simple cabbage slaw dressed with lime juice and salt – the acid helps cut through the richness.
An often-overlooked but perfect accompaniment is pickled red onions. The tangy, vibrant pink rings add brightness that balances the savory, fried elements beautifully. Simply slice an onion thinly and marinate in lime juice with a pinch of salt for 30 minutes before serving.
For entertaining, create a chimichanga bar where guests can add their own toppings. Offer bowls of shredded lettuce, diced tomatoes, sliced avocado, various salsas, sour cream, and hot sauces. This interactive approach makes for a fun dining experience and ensures everyone gets exactly what they love.
 Pin it
Conclusion
I've been perfecting this recipe since moving away from Texas fifteen years ago, and it's become my signature dish for entertaining. There's something deeply satisfying about watching friends experience that first bite – the audible crunch of the tortilla giving way to the savory filling inside. Food has always been my love language, and these chimichangas speak volumes. They've helped me introduce countless friends to the joys of homemade Tex-Mex cuisine, proving that you don't need a restaurant to experience authentic southwestern flavors. With a little practice, you'll be turning out restaurant-quality chimichangas that will have your family requesting them weekly.
Frequently Asked Questions
- → Can I bake these chimichangas instead of frying them?
- Yes! For a healthier version, brush the rolled chimichangas with a little oil and bake at 400°F for about 20 minutes until crispy and golden. Flip halfway through cooking time.
- → How do I freeze these for later?
- After assembly but before frying, wrap each chimichanga individually in plastic wrap, then place in a freezer bag. They'll keep for up to 3 months. When ready to cook, thaw in the refrigerator overnight, then fry as directed.
- → What can I use instead of ground beef?
- Ground turkey, chicken, or plant-based meat substitutes work well. You could also use shredded beef, chicken, or pork - just adjust the seasonings as needed for your protein of choice.
- → My chimichangas keep opening when I fry them. What am I doing wrong?
- Make sure to roll them very tightly and always place them seam-side down first in the oil to seal the edge. You can also secure them with toothpicks while frying (just remember to remove before serving).
- → What are good side dishes to serve with chimichangas?
- Mexican rice, black beans, corn salad, or a simple green salad make perfect sides. You could also serve with guacamole, extra salsa, and lime wedges for a complete meal.
